Microblading: The Complete Guide to Pain, Cost, Healing, Risks, and More
If you’re like most of us, you’ve probably spent countless mornings struggling to get your brows just right, whether it’s filling in sparse areas, trying to make them symmetrical, or simply aiming for that “natural but better” look. Brows can make or break your entire appearance, and yet, getting them perfect often feels impossible. I’ve been there myself, staring at the mirror, frustrated with brow pencils that never quite last the whole day.
That’s where microblading comes in a semi-permanent solution like Nano brows that offers a way to wake up with beautifully shaped brows every single day. If you’re tired of the daily hassle, this guide is here to walk you through everything you need to know about microblading, from the process and cost to aftercare and risks, so that you can make an informed decision. Ready to say goodbye to bad brow days?
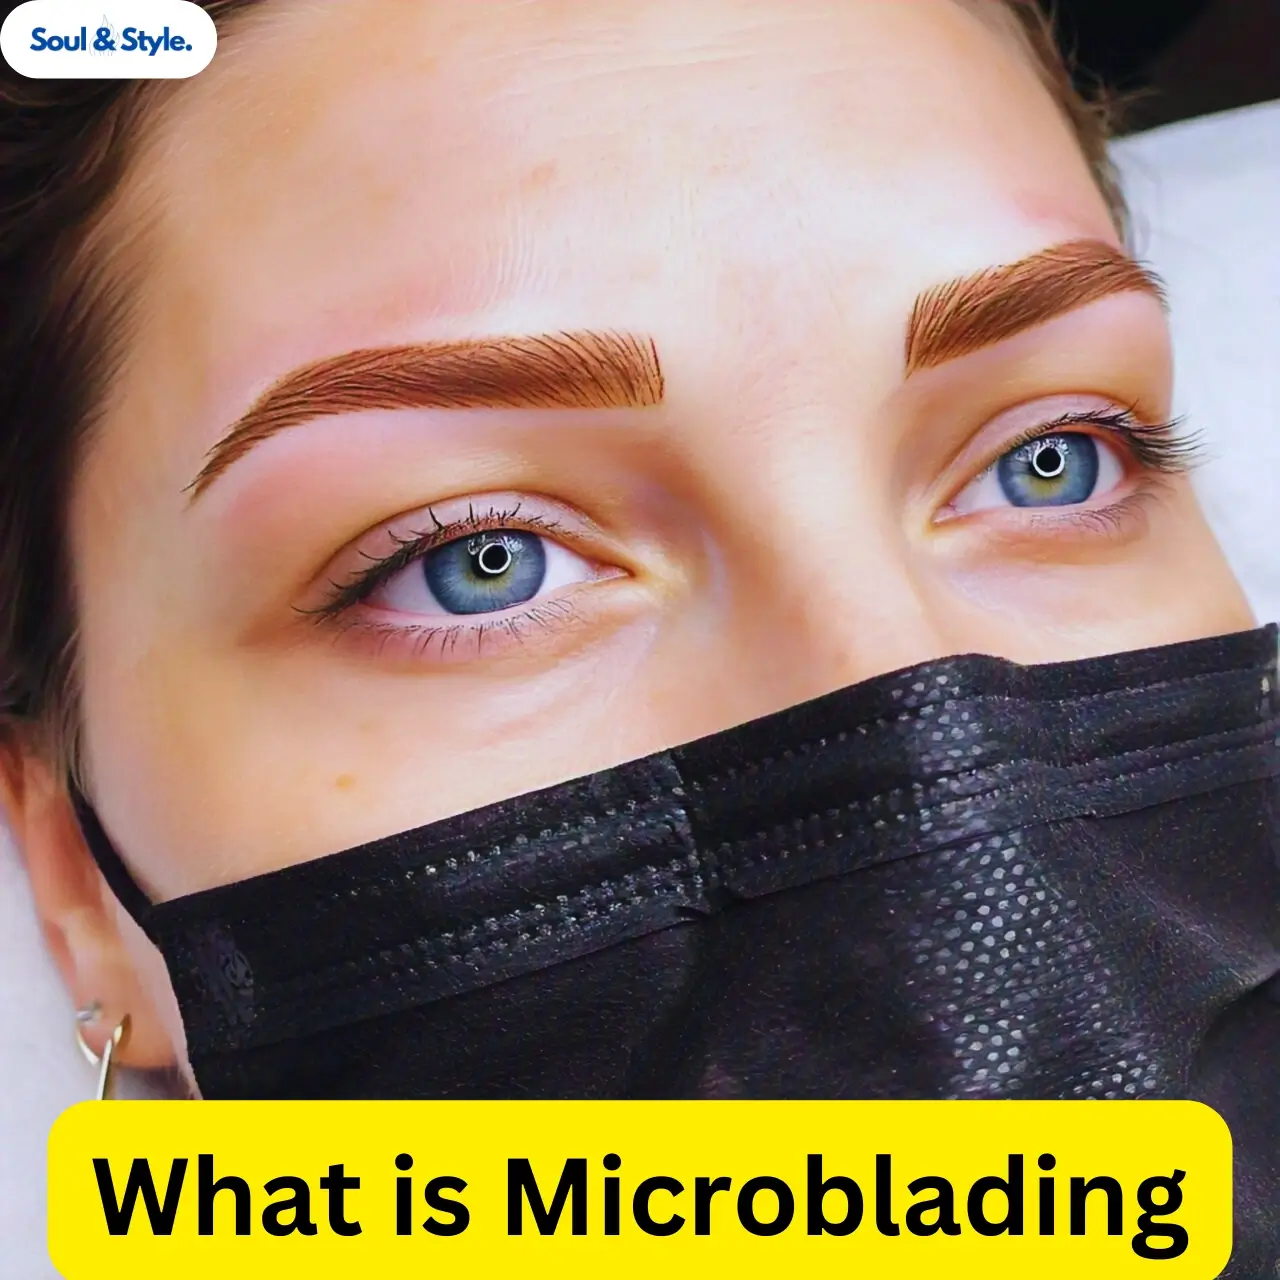
What is Microblading?
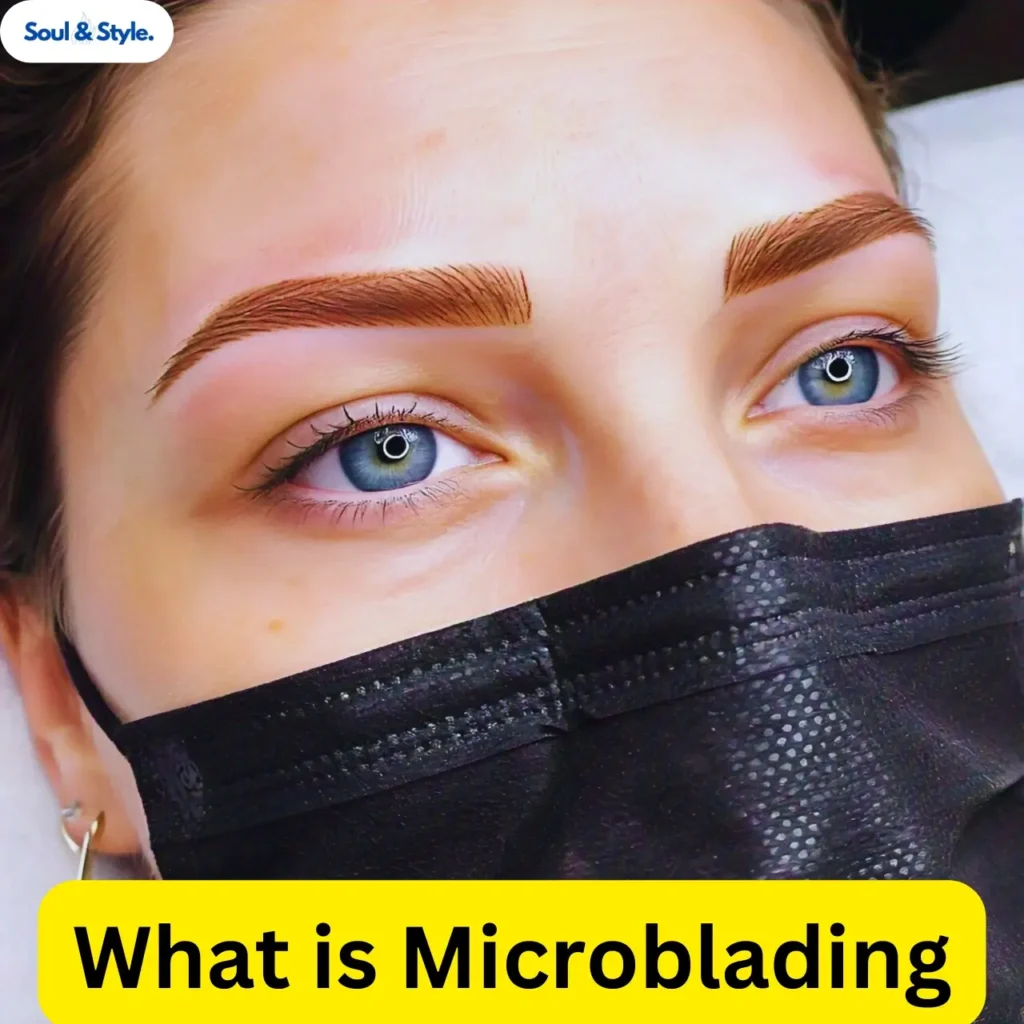
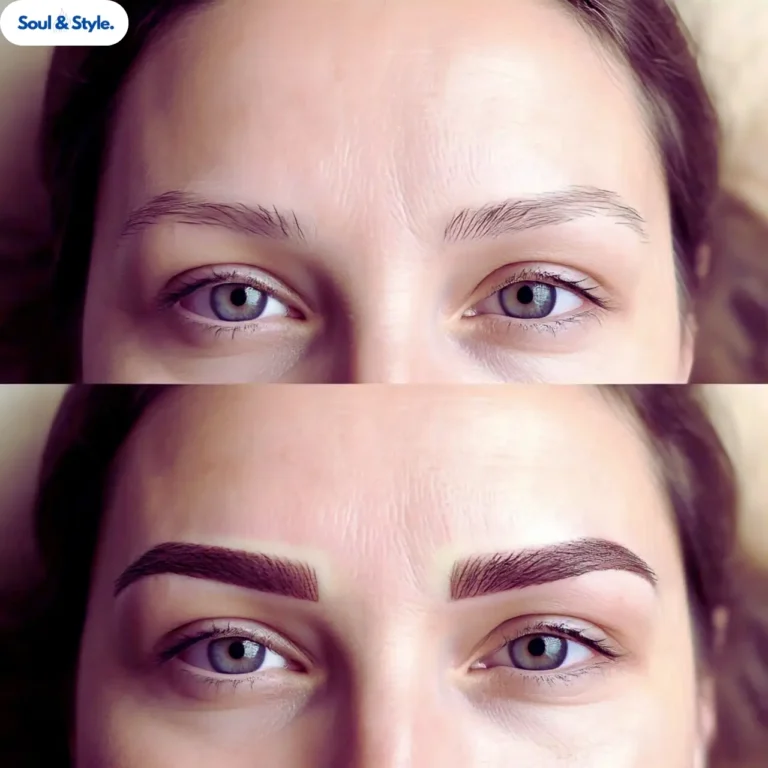
It’s a semi-permanent cosmetic procedure designed to enhance the appearance of your eyebrows. Using a special handheld tool, a technician makes small, precise cuts in the skin to deposit pigment. This technique mimics natural hair strokes, giving your eyebrows a fuller and more defined look. Unlike traditional eyebrow tattoos, it results in a softer, more natural appearance and doesn’t go as deep into the skin.
How Does Microblading Work?
It involves creating tiny, hair-like strokes on the skin’s surface, where pigment is implanted. The process typically takes about 2-3 hours, including a consultation where the technician designs your brow shape. After numbing the area, they begin by using a tool that looks like a tiny blade made up of needles to create these fine lines. The result is a more natural brow that enhances your face without looking overly dramatic.
Different Types of Microblading
Several different types of microblading techniques like nanoblading vary slightly in approach but aim to create a natural brow. Let’s take a look at some of the most popular options that I experienced being a Cosmetic Artist:
| Types | Description |
| Standard Microblading | The traditional method uses manual hair-like strokes to fill in sparse areas. |
| Nano Blading | Uses even finer needles to create more delicate, detailed strokes for a softer look. |
| Ombre Brows | Blends microblading with shading techniques, giving a gradient effect for a fuller look. |
| Combo Brows | Combines microblading hair strokes with shading for more defined yet natural results. |
Who is a Good Candidate for This Treatment?
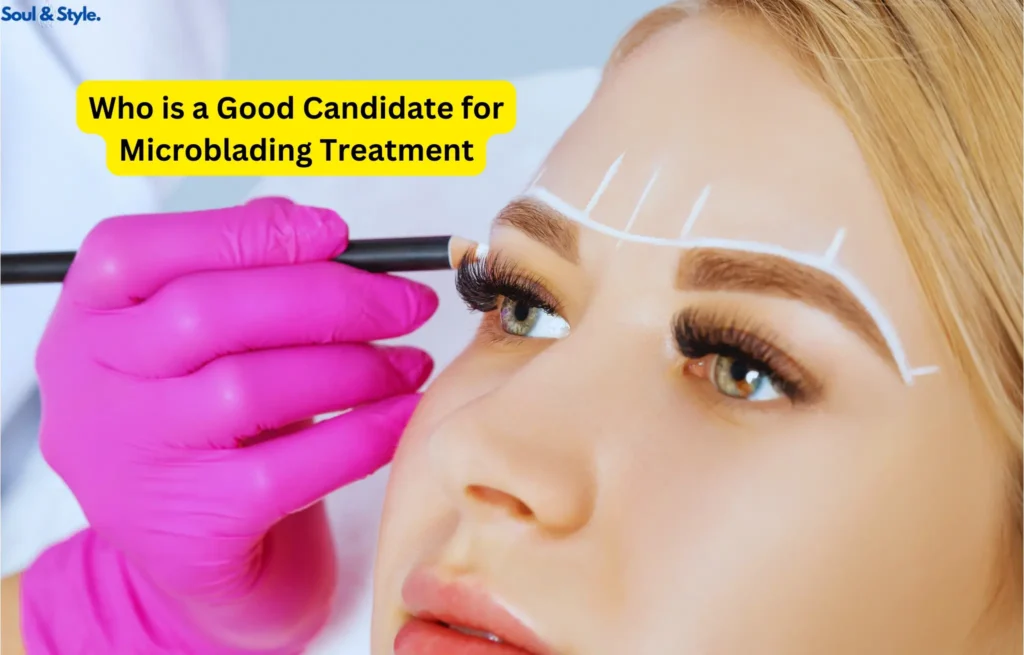
It’s ideal for individuals with thin, sparse, or uneven eyebrows looking for a fuller, more defined appearance without the daily hassle of makeup. It’s a great option for those wanting a long-lasting, natural result that allows flexibility for changes over time. However, certain factors, like skin type and lifestyle, can affect how well the procedure works for you.
Can This Technique Work for Males?
Yes, it isn’t just for women. Men with thin or patchy brows can benefit, too. It can create fuller, more defined brows without an obvious makeup look. Technicians often take a more subtle approach for men, crafting a natural appearance that suits their facial features. Male grooming, including this technique, is gaining popularity in cities like New York and San Antonio, where men seek this semi-permanent solution for better brows.
Will This Technique Work on Oily Skin?
Yes, but there are some challenges. Oily skin can cause the pigment to fade faster, so the results may not last as long compared to drier skin. People with oily skin often require more frequent touch-ups. Technicians may adjust their technique, using specialized methods to help the pigment last longer. If you have oily skin, ask your technician about specific methods, like ombre brows or machine hair stroke brows, that may be better suited for your skin type.
Is This Treatment Good Only for Thin Brows?
No, it works for all brow types. Even those with naturally full brows can benefit by adding definition, shape, or symmetry. It’s also a popular choice for conditions like trichotillomania, where individuals lose brow hair, offering a long-lasting, natural solution.
How Painful is Microblading?

I experienced that a common concern with this technique is the potential pain, as it involves tiny cuts on the skin to deposit pigment. Fortunately, most people find the pain tolerable, comparing it to light scratching or a mild stinging sensation. To reduce discomfort, a numbing cream is applied before the procedure, making the process much more manageable.
This technique Pain vs. Tattoo Pain

This technique is generally less painful than traditional tattooing. Tattooing penetrates deeper into the skin and uses larger needles, often resulting in a more intense, burning sensation. In contrast, this technique only affects the upper layers of the skin, making the discomfort milder. Most clients report it feeling like small scratches. However, pain levels can vary depending on skin sensitivity and proximity to the brow bone.
How to Manage Pain During and After the Procedure
Numbing creams are applied before and during the session to minimize pain. If you’re particularly sensitive, ask your technician to reapply the cream as needed. After the procedure, mild discomfort, similar to a sunburn, may linger for a few hours. To manage this, avoid touching the area, follow aftercare instructions, and apply any soothing creams provided. Over-the-counter pain relievers like ibuprofen can help, but avoid blood thinners before your session, as they may increase discomfort and bleeding.
How Much Does Microblading Cost?
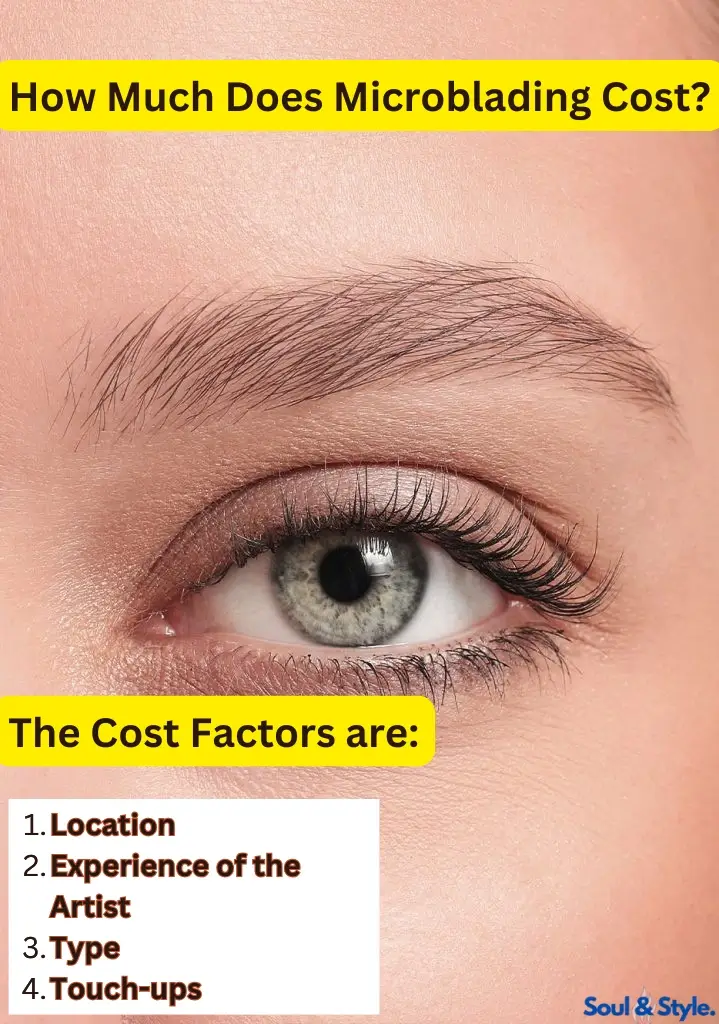
The cost of this technique can vary widely based on several factors, including the location of the studio, the expertise of the artist, and the specific type of brow treatment you choose. On average, the price for this technique ranges from $300 to $800 per session. While this might seem like a significant investment, the results typically last for up to two years, making it a long-term solution compared to daily brow makeup.
Understanding the Cost Breakdown
Being a Cosmetic Artist, I experienced in the fashion industry the main factors that influence the cost of this technique:
| Cost Factor | Details |
| Location | Prices are higher in big cities like New York or Chicago, while smaller towns may offer more affordable rates. |
| Experience of the Artist | Artists with more experience or specialized skills (like nano hair strokes) tend to charge higher fees. |
| Type of this technique | Advanced techniques like ombre powder brows or combo brows may cost more than standard technique. |
| Touch-ups | Initial touch-ups, usually done 4-6 weeks after the first session, may or may not be included in the initial price. |
When budgeting for this technique, keep in mind that investing in a reputable artist can save you from the additional cost and frustration of having to fix botched brows.
Is Fixing Botched Eyebrow Microblading More Expensive?
Yes, correcting poorly done the treatment can be more expensive than the initial procedure. If the pigment is applied too deep or the shape is off, the correction process may involve laser removal or saline treatments, both of which add to the overall cost. After removal, you’ll likely need another session to fix the shape, making the entire process time-consuming and costly.
Preparing for a Microblading Appointment

Proper preparation is critical for ensuring that you get the best results from your treatment. Following the right steps before your appointment can help you achieve long-lasting, natural-looking brows with minimal discomfort.
Are There Any Restrictions Before an Appointment?
Yes, there are several important restrictions to keep in mind before your session. These are my experienced guidelines that help reduce the risk of complications and ensure that the pigment takes well to your skin.
| Pre-Appointment Guidelines |
| Avoid alcohol and caffeine for at least 24 hours before the procedure, as these can thin the blood and increase bleeding. |
| Refrain from using blood-thinning medications like aspirin or ibuprofen for 48 hours before your appointment. |
| Do not get any facials, Botox, or chemical peels at least two weeks before the appointment to avoid skin sensitivity. |
| Avoid direct sun exposure and tanning beds, as sunburned or damaged skin can interfere with the healing process. |
| Discontinue any use of retinol or acne medications that could make your skin more sensitive. |
By following my above guidelines, you’ll minimize the risk of excessive bleeding and ensure the pigment absorbs properly into your skin.
What to Expect During Your Appointment?
Your appointment will typically last between 2-3 hours. Here’s my experienced professional step-by-step breakdown of what happens during the session:
- Consultation and Design: The technician will first measure and map out your ideal brow shape, taking into account your natural brow structure, face shape, and preferences. You’ll have the opportunity to review and approve the design before moving forward.
- Numbing Cream Application: A numbing cream will be applied to your brow area to minimize discomfort. This takes about 20-30 minutes to take full effect.
- Process: Using a specialized hand tool with fine needles, the technician will begin creating hair-like strokes in your brows, depositing pigment into the skin. This process usually takes about an hour.
- Final Touches: Once the procedure is complete, the technician will go over the brows again to ensure everything looks symmetrical and full. A second layer of pigment may be applied to enhance the results.
- Aftercare Instructions: Before you leave, the technician will give you detailed aftercare instructions to ensure your brows heal properly.
How Long Does an Appointment Take?
The appointment of this technique lasts between 2-3 hours, with the actual treatment portion taking about 60-90 minutes. The rest of the time is spent on the consultation, design, numbing, and aftercare instructions. While the process may seem lengthy, it’s important to allow enough time to perfect the brow design and ensure your comfort during the procedure.
What Should I Expect After This Treatment ?
After your treatment session, your brows will go through several stages of healing. This process is necessary to achieve the final look you desire. Proper aftercare and patience are key to ensuring that your heals well and lasts as long as possible.
Microblading Healing Process
The healing process can take about 4-6 weeks. Here’s a general breakdown of what you can expect day by day that I experienced:
| Healing Stage | Description |
| Day 1-3: Fresh and Dark | Your brows will appear darker than expected immediately after the procedure. Swelling and redness may also occur, but this is completely normal. |
| Day 4-7: Scabbing Begins | Around this time, your brows may begin to scab. Do not pick or scratch them as this can remove the pigment and affect the final results. |
| Day 7-14: Flaking and Fading | The scabs will start to flake off, and your brows may appear lighter or patchy. This is part of the healing process, and the pigment will settle soon. |
| Day 14-28: Color Settles | By this stage, the flaking will stop, and the true color of your brows will begin to appear. They may still be lighter, but this will improve over time. |
| Week 4-6: Full Healing | Your brows should be fully healed, and the final shape and color will emerge. A touch-up may be needed to perfect the results. |
It’s important to follow the aftercare instructions provided by your technician during this period to avoid complications and ensure the pigment stays in place.
Do You Need Aftercare?
Yes, proper aftercare is necessary for maintaining your brows and avoiding infection. Follow these steps:
- Keep brows dry for 7-10 days (no swimming, sweating, or direct face washing).
- Avoid makeup, lotions, or creams on the brow area during healing.
- Stay out of direct sunlight and avoid tanning for at least two weeks to prevent fading.
- Use the healing ointment provided by your technician to reduce irritation.
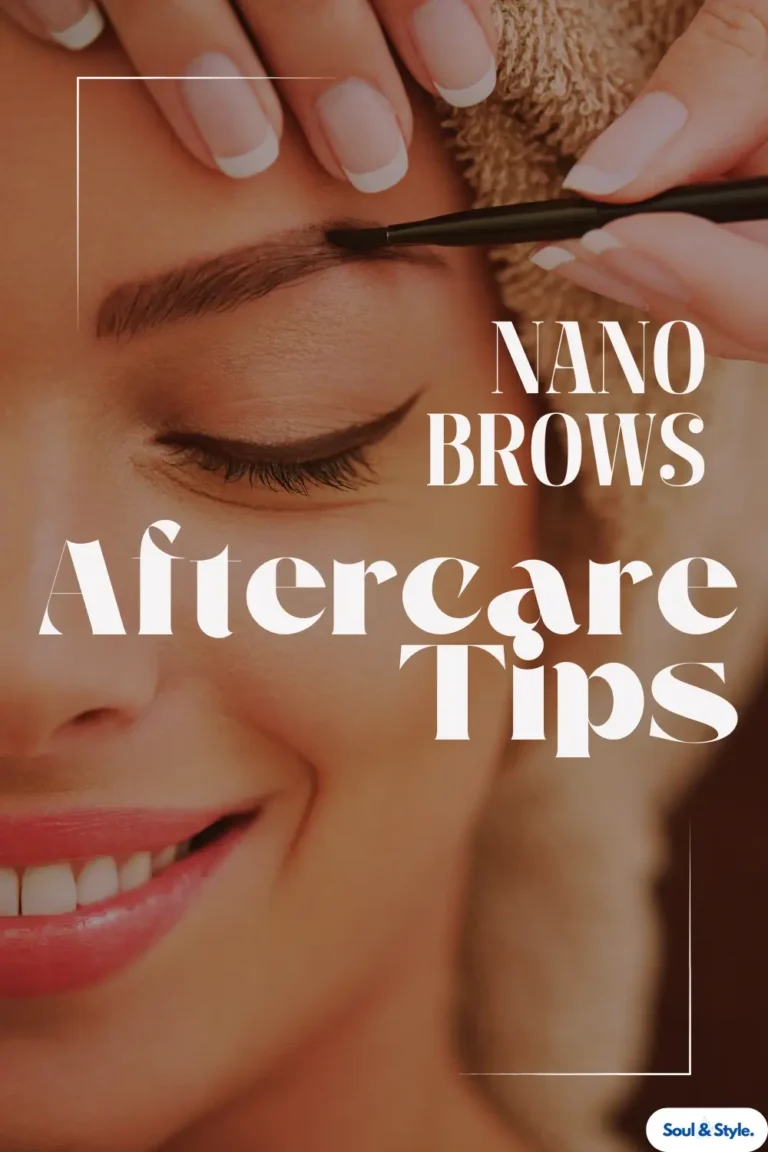
Microblading Aftercare and Safety Tips
Proper aftercare is important for ensuring your microbladed brows heal correctly and look their best. By following the recommended practices, you can avoid complications and extend the longevity of your new brows. Here are significant aftercare and safety tips to keep in mind after your procedure.
Skin Care After This Treatment
During the first 7-10 days, it’s important to keep your eyebrows dry to allow proper healing. This means avoiding direct water exposure, staying out of saunas, and refraining from activities that cause excessive sweating, like intense workouts.
Here are my professional key skincare tips:
- Avoid Water on the Brows: When washing your face, use a damp cloth to cleanse around the brow area, keeping it dry gently.
- No Makeup on the Brows: Avoid applying makeup, lotions, or skincare products directly on your brows until they are fully healed.
- Moisturize Carefully: If your technician recommends a healing ointment, apply it sparingly as directed. Over-moisturizing can affect the pigment.
- Sun Protection: Keep your brows away from direct sunlight, as UV exposure can fade the pigment. After the healing process, use sunscreen or wear a hat when outdoors.
How to Avoid Potential Complications
While this technique is safe, improper aftercare can lead to complications like infection, fading, or pigment loss. Here’s how to avoid these issues:
- No Picking or Scratching: As your brows heal, they may flake or scab. Avoid picking at the scabs, as this can remove pigment and affect the final result.
- Avoid Harsh Treatments: Stay away from chemical peels, laser treatments, or exfoliants around the brow area during the healing phase.
- Don’t Rush Healing: Your brows may appear patchy or uneven as they heal. Be patient and allow them to fully recover before seeking touch-ups.
Does This Treatment Require Maintenance?
Yes, maintenance is required to keep your brows fresh. I observed most people need a touch-up within 6-12 months after the initial procedure, and regular touch-ups every 12-18 months to maintain the color and shape.
- Regular Touch-ups: Touch-ups refresh pigment and shape.
- Avoid Sun Exposure: Sunlight can cause fading, so use sunscreen or wear a hat outdoors.
How Long Does Microblading Last?
It typically lasts between 12 to 24 months, but this varies based on individual factors like skin type, lifestyle, and aftercare.
Factors That Affect Longevity
- Skin Type: Oily skin can cause faster fading, while dry skin may hold pigment longer.
- Sun Exposure: Prolonged sun exposure can fade the pigment, so use hats or sunscreen after healing.
- Aftercare Routine: Proper aftercare, like keeping brows dry, helps extend results.
- Touch-ups: Most people need a touch-up within 6-12 months, with maintenance every 12-18 months.
Can Microblading Ruin Your Eyebrows?
I observed that while this technique is a popular and effective way to enhance your brows, there’s always a risk of unsatisfactory results if a skilled professional does not do the procedure. Poor technique, incorrect pigment application, or improper aftercare can lead to botched brows. However, you can avoid long-term damage to your natural brows by choosing an experienced artist and following proper aftercare instructions.
How to Avoid Bad Eyebrow Microblading
To prevent bad results, follow my experienced and useful important tips:
- Research Your Artist: Always look for a reputable technician with strong credentials, a good portfolio, and positive reviews. Ask for before-and-after photos, especially from clients with a similar brow type or style to what you desire.
- Consultation is Key: Schedule a detailed consultation before the procedure to discuss your ideal brow shape, color, and concerns. A professional artist will map out your brows carefully to ensure symmetry and a natural look.
- Follow Aftercare Instructions: Proper aftercare is critical to prevent infections, fading, or pigment loss. Not following these instructions can lead to poor results and impact the longevity of your treatment.
- Don’t Rush Touch-ups: If your brows aren’t healing as expected, be patient. Wait 4-6 weeks for the healing process to complete before making any adjustments or scheduling a touch-up.
What to Do if You Experience Botched Microblading?
If your treatment didn’t turn out as expected, here’s what you can do:
- Consult with Your Artist: Contact your artist immediately to discuss the results and possible corrective actions during a follow-up appointment.
- Consider Saline or Laser Removal: In severe cases, saline or laser removal can help lighten or remove the pigment, allowing you to start over with a new session.
- Seek Professional Correction: If your original artist can’t fix the issue, find a specialist experienced in correcting botched treatment for better results.
Fixing Botched Treatment: Steps and Cost
Fixing a bad job can be time-consuming and expensive. The cost for corrective treatments depends on the extent of the problem, but you should expect to pay more than you did for the initial procedure.
Correction Method Cost Range
Saline Removal $150 – $500 per session
Laser Removal $200 – $700 per session
Corrective Microblading $300 – $1000
What Are the Risks of Microblading?
While this technique is generally safe when performed by a trained technician, it’s important to understand the potential risks involved. Complications are rare, but like any cosmetic procedure, there are risks that you should be aware of before undergoing this treatment.
Potential Complications to Be Aware Of
Here are some common risks and complications that I experienced in my profession :
- Infection: Small cuts increase the risk of infection if aftercare is ignored or tools aren’t sterilized properly.
- Allergic Reactions: Some individuals may react to the pigment. A patch test is recommended to avoid allergic reactions.
- Uneven or Patchy Brows: Poor technique or healing can lead to uneven brows. Choose a skilled artist and follow aftercare carefully.
- Scarring: In rare cases, improper technique or picking at scabs can cause scarring.
- Pigment Discoloration: Pigment may change color over time, especially with sun exposure, sometimes requiring corrective treatments.
Is This Technique Safe for Everyone?
It may only be suitable for some. You should consult a professional if you:
- Are pregnant or breastfeeding.
- Have skin conditions like eczema, psoriasis, or dermatitis near the brow area.
- Are taking blood thinners, as they can lead to excessive bleeding.
- Have autoimmune conditions, which may slow healing and increase the risk of infection.
Always disclose any health conditions or medications to your technician before proceeding with this treatment.
Not Ready for Microblading? Alternatives to Consider
If you’re not quite ready for this technique or have concerns about the risks, there are several alternatives to achieve beautiful, well-defined brows. These options vary in terms of longevity, cost, and overall look, so it’s important to choose one that fits your lifestyle and preferences.
Combo Brows: Microblading + Microshading
Combo brows, also known as” hybrid brows,” combine both techniques. In this method, hair-like strokes are applied to the front of the brow, while shading is used for the tail and body, creating fuller, more natural-looking brows. This option is ideal for those with sparse brows who want more volume and depth. Combo brows also offer a softer result than full microblading and are popular for those with oily skin, as the shading helps the pigment last longer.
Brow Lamination
Brow lamination is a non-invasive alternative that lasts about 4-6 weeks. It involves straightening and setting the brow hairs in place with a special solution, giving them a fuller and more defined look. Lamination is a great choice for individuals with unruly natural brow hairs, as it creates a polished appearance without adding pigment to the skin.
Precision Brow Pencils
For a temporary solution, precision brow pencils and powders are great options. They allow you to fill in and shape your brows daily, giving you the flexibility to experiment with different styles.
10 Celebs Who Embraced Microblading
1. Meghan Markle: The Duchess of Sussex subtly enhanced her natural brows with this technique, giving her a refined, royal look.
2. Mandy Moore: The actress keeps her brows full and defined with this treatment , perfect for her busy schedule.
3. Adele: Adele’s bold brows are maintained with this technique, enhancing her signature dramatic style.
4. Lena Dunham: After years of overplucking, Dunham restored her natural look through this treatment.
5. Gwen Stefani: Stefani’s perfectly arched brows stay flawless thanks to this technique, even during performances.
6. Bella Thorne: Thorne proudly shows off her microbladed brows on social media, revealing a striking transformation.
7. Kim Kardashian: Kardashian, always a beauty trendsetter, uses this technique to enhance her bold, sculpted brows.
8. Serena Williams: The tennis star benefits from this treatment, keeping her brows perfect even during intense matches.
9. Michelle Keegan: Keegan’s eyebrows appear fuller and more defined thanks to this treatment.
10. Chrissy Teigen: Teigen has openly shared her love for this technique, achieving perfectly symmetrical brows.
Final Thoughts
Microblading offers a convenient, long-lasting solution for those who want fuller, more defined brows without the daily hassle of makeup. Whether you have sparse brows or oily skin or want a more polished look, this semi-permanent technique can provide natural-looking results. By choosing a skilled artist, following proper aftercare, and understanding the process, you can enjoy beautiful brows that last up to two years. If you’re ready for a low-maintenance beauty upgrade, this technique might be the perfect choice for you!
FAQs
How long does it take for this treatment to heal?
It takes about 4-6 weeks for this technique to heal fully.
Can you get this technique if you have oily skin?
Yes, but results may fade faster, and more frequent touch-ups may be needed.
How much does it cost?
Costs typically range from $300 to $800, depending on location and artist expertise.
How long does it last?
It lasts about 12 to 24 months, with touch-ups required for maintenance.
Does it hurt?
Most people experience mild discomfort, similar to light scratching, thanks to numbing cream.